This windy, wet and really dismal weather is putting me off doing any long walks with the dogs and when we do our walks it normally ends with muddy dogs and boots!

At least with this weather I don’t feel so bad spending my time crocheting in the warm and dry. This week I have been trying to perfect a heart plant in a pot. I have tried various pots, hearts and even leaves.
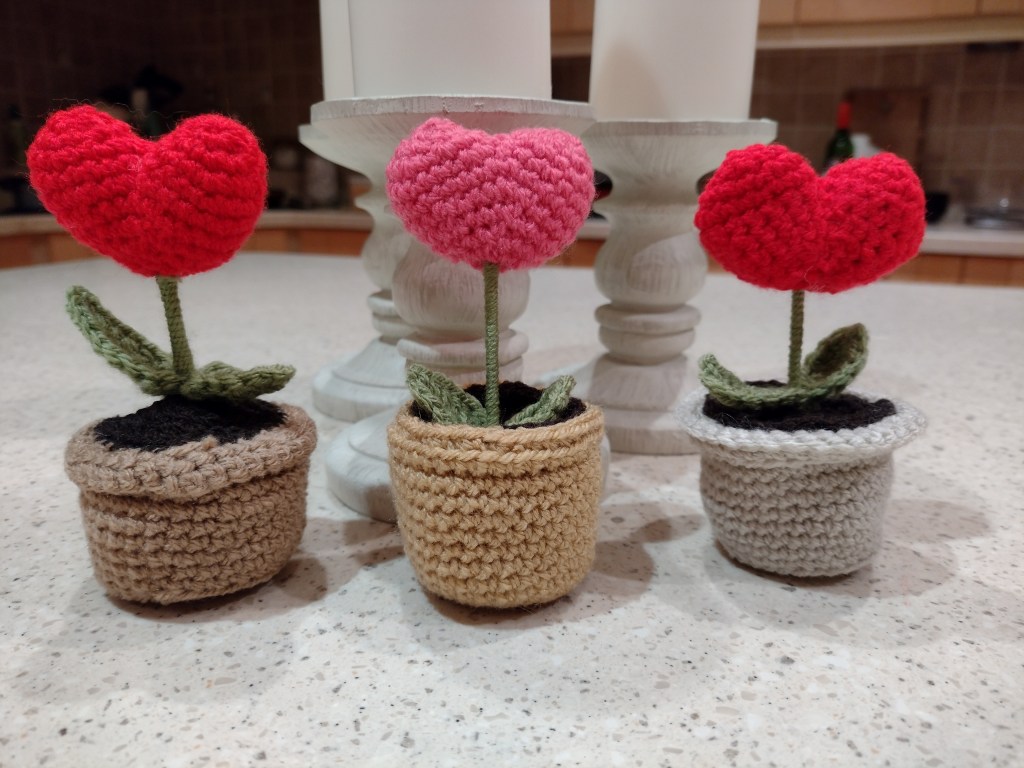
I used a mixture of different patterns and adapted to create the pattern below.
Flower Pot
Round 1: mr 6 [6]
Round 2: inc x6 [12]
Round 3: (sc 1, inc)x6 [18]
Round 4: sc 1, inc, (sc 2, inc)x5, sc 1 [24]
Round 5: (sc 3, inc)x6 [30]
Round 6: BLO sc around [30]
Round 7: sc around [30]
Round 8: (sc 9, inc)x3 [33]
Rounds 9-10: sc around [33]
Round 11: sc 5, inc, (sc 10, inc)x2, sc 5 [36]
Rounds 12-14: sc around [36]
Round 15: FLO (sc 11, inc)x3 [39]
Round 16: BLO sc around [39]
Round 17: sc around through back loops of round 15
Round 18 SC in each
Soil:
Round 1: mr 6 [6]
Round 2: inc x6 [12]
Round 3: (sc 1, inc)x6 [18]
Round 4: sc 1, inc, (sc 2, inc)x5, sc 1 [24]
Round 5: (sc 3, inc)x5, sc 2 [30]
Round 6: sc 2, inc, (sc 4, inc)x6 [36]
FO, leaving a long tail for sewing
The Heart
Beginning at the top of the heart, with magic ring:
Rd 1: Work 6 sc into the center of ring (6)
Rd 2: Work 2 sc in each st around (12)
Rd 3: (Sc in next st, 2 sc in next st) around (18)
Rd 4: Work Sc in 18 st
Sl st in next st, cut yarn leaving 10” long tail and pull through last loop. You’ve just finished the first top half of the heart (Top A).
To make another top half repeat the rounds 1-4
The second top half of the heart is finished (Top B). Do not cut yarn.
Rd 5: Sc in next 9 sts of the Top B.
Merge the halves together: Insert hook into first stitch after sl st made on Top A and continue to make 1 sc in all 18 stitches. Insert hook back into the Top B and work 1 sc in next 9 sc. (One round completed with 36 sc)
With the tail from Top A close the gap between the two top halves.
Rd 6 : Sc around (36)
Rd 7 : (Sc in next 4 sts, sc2tog) around (30)
Rd 8 : (Sc in next 3 sts, sc2tog) around (24)
Rd 9 : (Sc in next 2 sts, sc2tog) around (18)
Rd 10 : (Sc in next st, sc2tog) around (12)
Stuff! While stuffing make sure the tail you used to close the gap is not stuck inside, you’ll need it later to pull tight and shape the heart.
Continue with “sc in next st, sc2tog” until you heave 5 sts left.
Cut yarn and pull it through thelast loop. Now pull the Top A tail tight to shape the heart and hide the tail inside with tapestry needle.
With a tapestry needle, weave the tail through the front loops of the remaining 5 stitches, and place top of stem inside before pulling it tight to close. Weave in yarn end!
Leaf Pattern:
Chain 6, SC in 2nd chain from hook, HDC in next, DC in next two, make 6 DC in last chain.
Now working on the other side of the chain, DC in next two, HDC in next, SC in last (do not join yet), chain 2 and make a SC in second chain from hook, join to first SC.
Stem
Use a cocktail stick or cake pop stick and wrap green yarn around it, stick at both end with glue.
Assembly
Attach the two leaves to the stem and feed the tails through the centre of the soil, put the stem through the hole too. I used the tails to secure to the stem under the soil and added a spot of glue.
Then stuff the pot and add the soil, stem, etc to the pot and attached the soil to the pot.
I have another heart project I am working on and will show you on my Facebook page and post on my blog next time.
If you are not into crocheting but would like a heart plant then check my Etsy Shop as I will have them on there. Ideal for Valentine’s and Mother’s Day or just to give to special people in your life.
I like to start the new year by clearing out my freezer’s of all the meals so I can start afresh. So this week our meals have been very much odds and ends of things that were leftover.
Next week I will go back into planning and exploring new dishes mode.
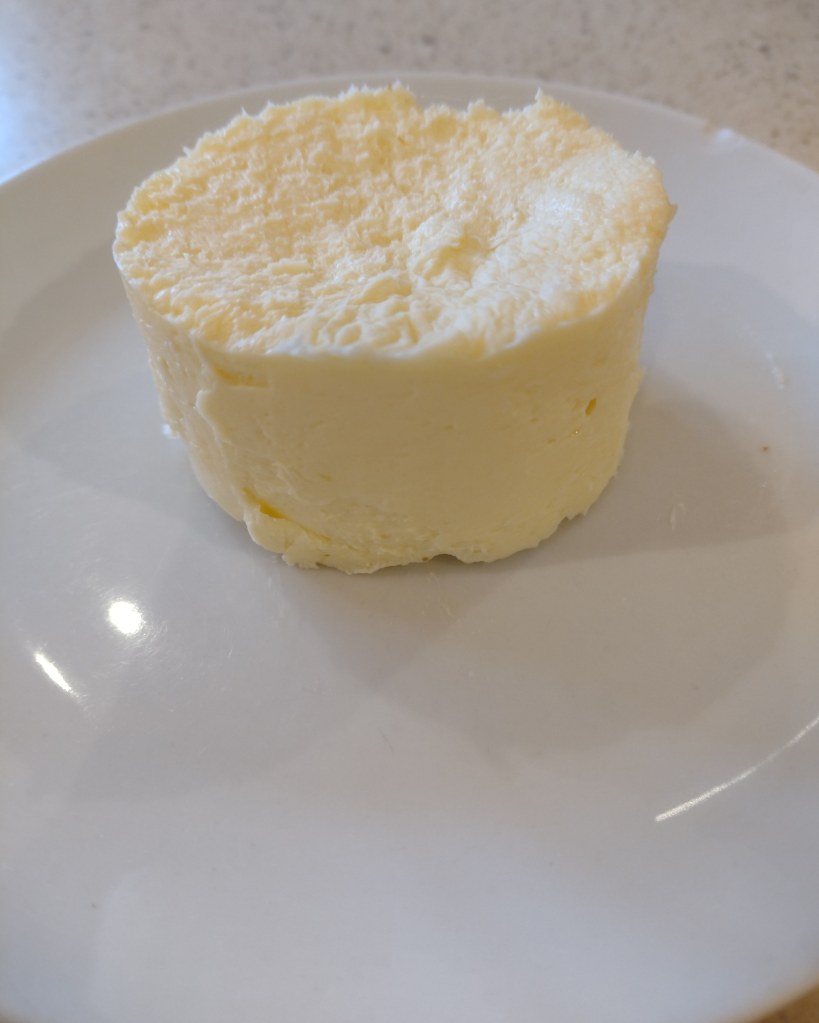
I had some double (heavy) cream leftover from the weekend, so I decided to make some butter. I used my kitchen aid and just kept whisking until the butter collected on the whisk and the buttermilk was left. I used some muslin to give it a squeeze to ensure I got as much of the buttermilk out and then just added in some salt and a little olive oil as I want it to be spreadable.
I popped it into a mould and chilled and here it is, ta da!
Butter at a fraction of the price in the shop and nothing has gone to waste as I used the buttermilk to make pancakes.
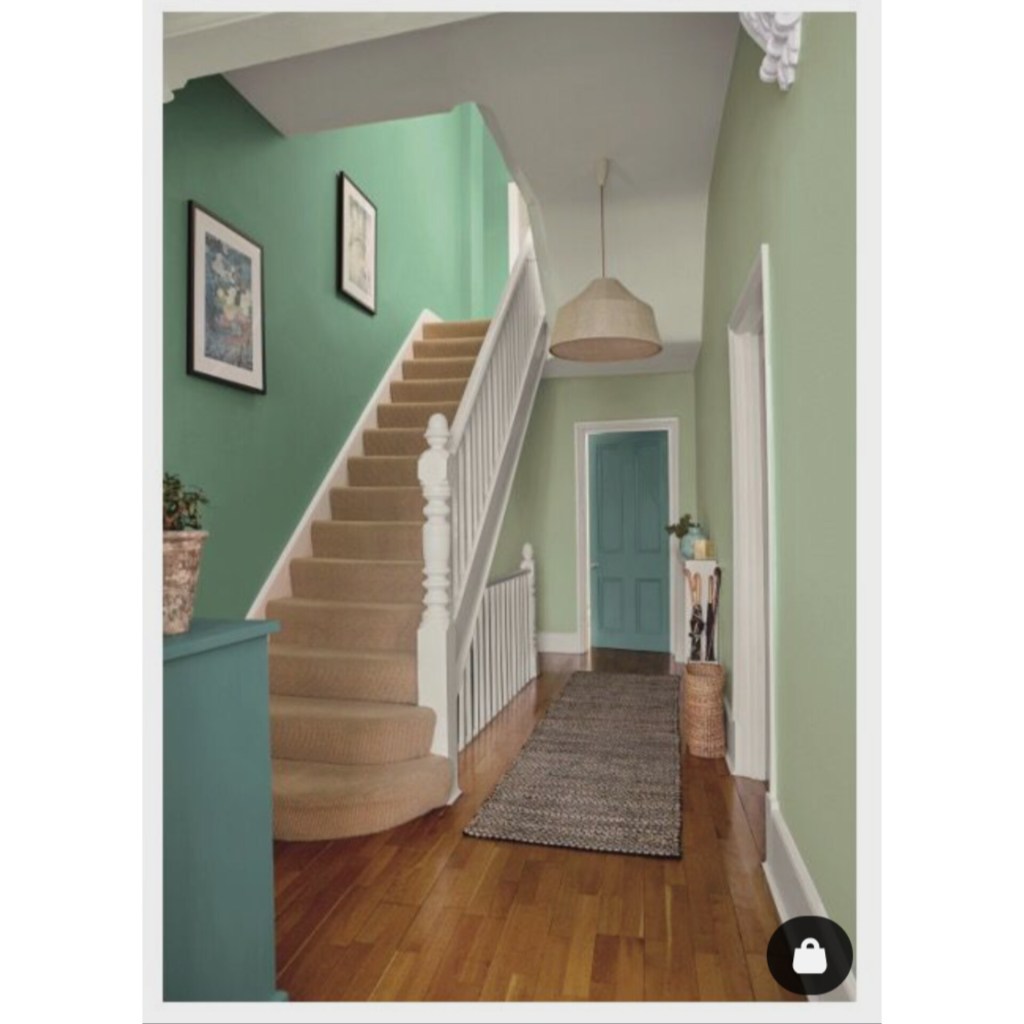
I am hoping to start decorating my hallway this week. It is not that big and has the stairs leading off as well as 3 doorways. I want it to feel welcoming and an area that has a purpose not just a corridor to pass through on your way to the other parts of the house.
So pop back next week to see any progress.